
-
Daniel Harris
- July 16, 2023
- View: 240
Mastering the Art of 7 Step Diagnostic Process Automotive
Automotive diagnostics play a pivotal role in identifying and resolving issues with vehicles, ensuring optimal performance and reliability. Technological advancements have significantly transformed the diagnostic process, empowering technicians with cutting-edge tools and techniques. In this article, we will unveil a comprehensive 7 step diagnostic process automotive for automotive professionals, guiding them through a systematic approach to efficiently troubleshoot and repair vehicles. By adhering to these steps, technicians can enhance their diagnostic capabilities and minimize the time and effort required to solve complex automotive problems.
Gather Preliminary Information
Before delving into the diagnostic process, it is essential to gather comprehensive preliminary information from the vehicle owner or driver. 7 step diagnostic process automotive steps involve active listening and effective communication to understand the nature of the problem, symptoms experienced, and any relevant recent events. Obtaining accurate information at this stage is crucial, as it provides valuable insights for subsequent steps.
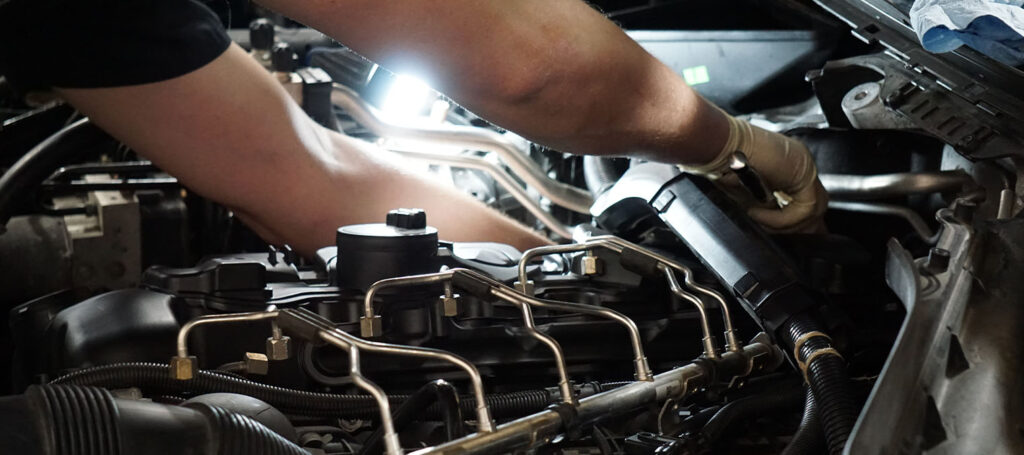
Visual Inspection
Performing a visual inspection allows technicians to identify any obvious signs of damage, leaks, loose connections, or abnormalities. Thoroughly examining the vehicle’s exterior, interior, engine bay, and undercarriage can unveil potential clues that aid in narrowing down the diagnostic focus. During this step, technicians should pay attention to the following:
- Exterior condition: Check for any physical damage, such as dents, scratches, or broken parts.
- Interior inspection: Evaluate the condition of the dashboard, controls, and electrical components.
- Engine bay examination: Look for signs of leaks, loose belts, damaged hoses, or disconnected wires.
- Undercarriage inspection: Check for leaks, rust, or any other abnormalities in the exhaust, suspension, or fuel system.
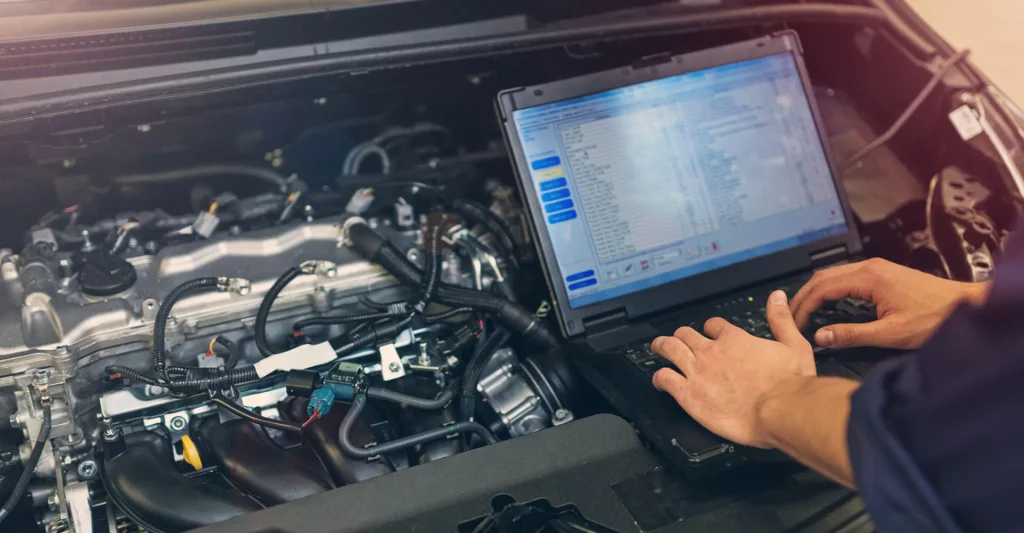
Utilize On-Board Diagnostics (OBD)
Modern vehicles are equipped with an On-Board Diagnostics (OBD) system that continuously monitors various components and systems. Connecting a diagnostic scanner to the OBD port enables technicians to retrieve diagnostic trouble codes (DTCs) stored in the vehicle’s computer. These codes act as valuable starting points for further investigation and diagnosis. During this step, technicians should:
- Connect the diagnostic scanner: Plug the diagnostic scanner into the OBD port, usually located under the dashboard or steering column.
- Retrieve diagnostic trouble codes: Scan the vehicle’s computer to obtain DTCs, which provide specific information about the detected issues.
- Interpret the codes: Refer to the scanner’s manual or a reliable online database to interpret the DTCs and gain insights into potential problem areas.
7 Step Diagnostic Process Automotive – Conduct Systematic Testing
Based on the 7 step diagnostic process automotive information and the DTCs retrieved, technicians proceed to conduct systematic testing. This step involves using specialized diagnostic equipment, such as multimeters, oscilloscopes, pressure gauges, or scan tools, to evaluate specific components or systems. By following standardized testing procedures and interpreting the obtained data, technicians can pinpoint the root cause of the problem accurately. During this step, technicians should:
- Identify the relevant systems and components: Based on the preliminary information and DTCs, focus on the areas that require further investigation.
- Use appropriate testing equipment: Select the necessary diagnostic tools based on the systems or components being tested.
- Follow testing procedures: Consult service manuals or technical resources to perform tests according to recommended procedures.
- Analyze the obtained data: Interpret the test results to identify abnormalities, inconsistencies, or malfunctions that could be causing the issue.
Verify and Validate Repairs
The final step in the diagnostic process involves verifying and validating the effectiveness of the repairs. Technicians recheck the repaired components or systems to ensure the problem has been resolved. Test drives, data logging, or monitoring real-time sensor readings are employed to confirm that the vehicle is functioning optimally and that the issue has been successfully resolved. During this step, technicians should:
- Perform post-repair testing: Conduct additional tests or inspections to verify that the repairs have effectively resolved the identified issue.
- Test drive the vehicle: Take the vehicle for a test drive to evaluate its performance, paying close attention to previously reported symptoms.
- Monitor real-time data: Utilize diagnostic tools to monitor sensor readings and system behavior, ensuring everything operates within acceptable parameters.
- Communicate with the vehicle owner: Provide a clear explanation of the repairs performed and address any remaining concerns or questions.
The Device That Helps Testers Make Full Diagnostics Without Mileage Issue
The Mileage Blocker was created by the German team at Super Kilometer Filter. It is a little gadget that makes use of cutting-edge technology to stop the system from adding excess miles. Meaning that your car will cease adding new miles to the existing data after you install the mileage blocker.
The information is not deleted, rolled back, or reset by mileage blocks. In fact, while the device is plugged in and switched on, it prevents any more miles from being added. This method of modifying a vehicle’s mileage is the most sophisticated and trustworthy. The fact that this gadget leaves no traces is its most significant feature. As a result, neither a scanner nor a human will ever be able to determine your exact journey distance.
Takeaway
Mastering the art of automotive diagnostics requires a systematic approach that combines technical knowledge, cutting-edge tools, and practical experience. By following the 7 step diagnostic process automotive outlined in this article, automotive professionals can enhance their efficiency and accuracy in troubleshooting and repairing vehicles. Remember, each step is crucial and builds upon the previous ones, leading to a comprehensive understanding of the problem and its solution. Embracing this process will undoubtedly elevate the diagnostic capabilities of technicians, ensuring a smooth and reliable automotive service experience for vehicle owners.


